Introduction
There’s something inherently nostalgic about gummies. Those chewy, vibrant-colored confections evoke memories of childhood candy stores, bustling birthday parties, and quiet afternoons spent curled up with a book. The sweet, fruity aroma wafts through the air as they melt into blissful little bites of flavor—the essence of joy captured in gelatin. Homemade gummies are not just a treat; they are a testament to the joy of creating something delicious with your own hands. With their enticing, chewy texture and irresistible flavors, they bridge the gap between childhood comfort and adult indulgence, making them the perfect snack at any age.
In an era of artisan chocolates and gourmet desserts, the unpretentious charm of homemade gummies shines brightly. Whether you favor classic flavors like strawberry and lemon or want to experiment with more adventurous combinations, the beauty of this recipe lies in its simplicity and versatility. With minimal ingredients—just unflavored gelatin, flavored gelatin, water, and sugar—you can encapsulate summer’s essence into a tiny morsel of delight. You will not just be satisfying your sweet tooth but also rekindling fond moments filled with laughter and joy. Let’s explore the origins, ingredients, and the pure magic that is making your own homemade gummies.
The Origins and History
Gummies have evolved significantly over the years, captivating generations around the globe. The invention of gelatin can be traced back to the 17th century, when it was first made from boiling animal bones. Over time, this humble ingredient transitioned from a culinary necessity into the fun, fruity confections we know and love today. In Germany, the first gummy candy, famously known as “gummy bears,” was created by Hans Riegel in the 1920s. This delightful chewy treat was inspired by the dancing bears seen at fairs and has since evolved into a panoply of shapes and flavors.
The cultural fascination with gummies only escalated post-World War II, particularly in the United States, where they became a staple in candy shops and grocery stores alike. As global travel and access to new flavors grew, so did the creativity behind gummies—leading to an incredible array of varieties and vibrant colors. Moreover, in recent years, the trend of homemade candies has surged, allowing enthusiasts to control the ingredients and tailor flavors to their liking. This exploration into the DIY segment offers a personal twist, making each batch a unique testament to individuality and taste.
Why You Will Absolutely Love This Recipe
- Flavor Profile: With a packet of flavorful gelatin, the taste options are virtually endless, whether you prefer a classic fruit burst or a tropical twist with mango or passion fruit.
- Ease of Preparation: The simplicity of the ingredients and the straightforward process make this recipe perfect for both novice bakers and seasoned chefs alike.
- Crowd-Pleaser: Homemade gummies make for a delightful party favor, fun during family gatherings, or simply as a personal treat to enjoy anytime.
- Customizable: You have the power to control the sweetness, flavor intensity, and even the shapes of your gummies, tailoring them to suit your personal preferences.
- Leftovers: Unlike many desserts that are best served fresh, homemade gummies retain their delightful texture for days, making them an ideal treat for extended snacking.
Deep Dive into the Ingredients
Understanding the core ingredients of homemade gummies is crucial to achieving that perfect chewy texture and bursting flavor. Let’s breakdown each component:
- Unflavored Gelatin: This is the backbone of your homemade gummies. It provides that signature spongy, chewy texture that makes them so satisfying to eat. Made from collagen derived from the connective tissues of animals, unflavored gelatin is often preferred because it allows for complete control over the sweetness and flavor of the final product. If dietary restrictions are a concern, there are plant-based alternatives available, such as agar-agar or pectin, though the texture may differ slightly.
- Flavored Gelatin: The star player in this recipe, flavored gelatin transforms a simple batch of gummies into a rainbow of taste sensations. Available in endless varieties—strawberry, lemon, orange, and beyond—it introduces sweetness, tang, and a vivid color infusion to your homemade snacks. If you’re feeling adventurous, consider using natural fruit juices or purees in place of flavored gels for a more authentic taste profile, although this may require additional adjustments in sugar and gelatin quantities to achieve the desired consistency.
- Sugar: Sweetness is essential in candy-making, and sugar plays a pivotal role not just in flavor but also in texture. It provides the delightful sweetness that balances the tartness of fruit flavors and helps to preserve the gummies, so they are not just delicious but also last longer. For a more health-conscious approach, consider using alternatives like agave syrup, honey, or stevia, but be mindful of the changes in the gummy’s texture and taste.
- Water: The binding agent, water is crucial for dissolving the gelatin and allowing the mixture to meld together seamlessly. Using flavored liquid, such as fruit juice or soda instead of water, can ramp up the flavor intensity, making your gummies even more delectable.
Pro Tips for Perfect Results
Creating the perfect batch of homemade gummies requires attention to detail. Here are some essential tips to ensure stellar results:
- Blooming the Gelatin: Start by mixing the unflavored gelatin with cold water and let it sit for about 5 to 10 minutes. This blooming step ensures that the gelatin fully hydrates, ultimately resulting in a smoother texture in your gummies.
- Even Mixing: When combining the gelatin mixture with sugar and flavored gelatin, stir gently. Avoid boiling the mixture vigorously as this can cause bubbles to form, which may affect the texture of the gummies.
- Proper Molding: Use silicone molds for easy releasing. They not only provide fun shapes but also help maintain the gummies’ form. If you prefer a different shape, parchment-lined trays can work, but make sure to cut them into uniform pieces for consistent texture.
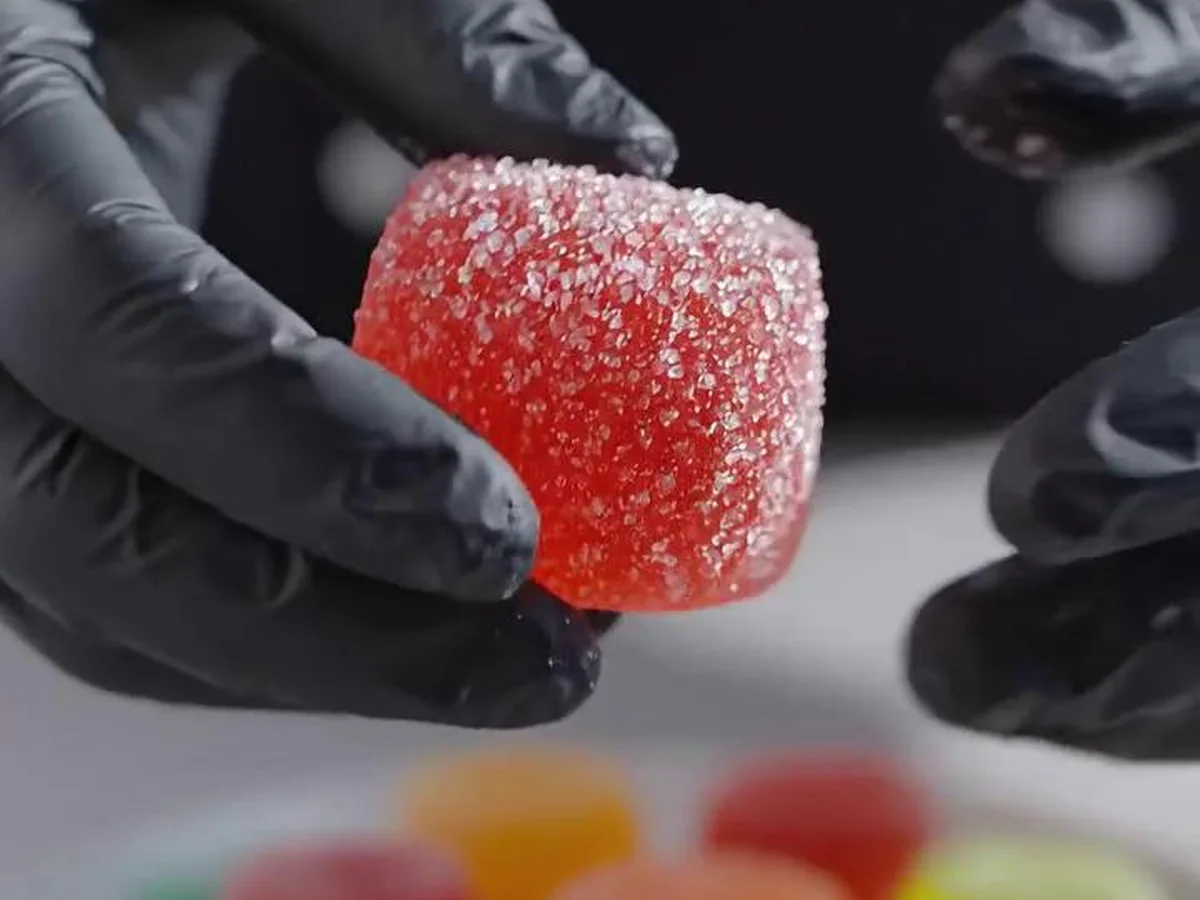
- Dusting and Storing: Once they’ve set, dusting your gummies with sugar prevents them from sticking together. Store them in an airtight container; however, keep them away from moisture to maintain that coveted chewy bite!
Serving and Pairing Suggestions
Homemade gummies can be enjoyed in numerous delightful ways. Serve them alongside lemonade or sparkling water for a sweet summer picnic or pair them with ice cream for a whimsical dessert. They make fantastic accompaniments to celebratory occasions like birthday parties or movie nights. Consider presenting them as engaging party favors by packaging them in glass jars or decorative bags, adding a personal touch that guests will cherish!
Storage, Freezing, and Reheating
To keep your gummies fresh and chewy, store them in an airtight container at room temperature, away from direct sunlight. They can last up to two weeks if properly stored. While freezing gummies isn’t recommended due to texture changes, if you do need to preserve them, ensure they’re sealed tightly. When ready to eat, allow them to thaw naturally at room temperature, avoiding any heat that may alter their delightful consistency.
Frequently Asked Questions (FAQ)
Can I use different flavors of gelatin? Absolutely! Feel free to mix and match flavored gelatin packets to create your unique flavor combinations, making creative combinations with a sweeter or tart contrast.
What can I use instead of sugar to sweeten my gummies? Alternative sweeteners such as honey, agave, or stevia can be used, but you may need to tweak the amounts for the desired sweetness, as each sweetener has its unique potency.
How do I prevent my gummies from sticking together? Dusting your gummies with sugar or cornstarch after they set will effectively reduce stickiness, ensuring they remain easy to handle and store.
Can I make gummies vegan? Yes! Use agar-agar or pectin in place of the gelatin to create a plant-based version, though keep in mind that the texture might slightly vary.
How do I get creative with my gummies? Beyond the usual fruit flavors, consider incorporating spices like chili powder for a spicy kick, or using herbal infusions with ingredients like peppermint or chamomile for a unique experience.”
Conclusion
Crafting your own homemade gummies is a delightful journey full of flavor, nostalgia, and creativity. With the potential for endless variations and personal touches, you’ll find joy in every chewy bite. Get ready to indulge in this sweet, sentimental treat that will captivate your taste buds and warm your heart.
The History of This Recipe
In a quaint little kitchen, a passionate home cook discovered a unique recipe for gummy candies while experimenting with fruit and natural ingredients. Inspired by a desire for healthier snacks, she decided to blend traditional techniques with fresh flavors.
As word spread about her delightful creations, friends began to request custom flavors and shapes for special occasions. This growing interest sparked the idea of turning her homemade hobby into a small business, allowing more people to experience the joy of healthier gummies.
With careful attention to quality and creativity, the brand quickly gained popularity in her local community. Today, Homemade Gummies stands as a symbol of innovation, celebrating the art of making treats that are both delicious and good for you.
Homemade Gummies
INGREDIENTS
- 2 packets of unflavored gelatin
- 1 packet of flavored gelatin (strawberry, lemon, orange, etc.)
- 300 g of sugar (reserve some for dusting)
- 250 ml of water
INSTRUCTIONS
In a small saucepan, combine the 250 ml of water with 2 packets of unflavored gelatin and 1 packet of flavored gelatin. Let it sit for about 5 minutes to allow the gelatin to bloom.
After 5 minutes, turn on the heat to low and stir the mixture continuously until the gelatin is completely dissolved.
Once the gelatin is dissolved, add in the 300 g of sugar. Keep stirring until the sugar is fully dissolved, and the mixture is smooth.
If you want to add food coloring, do so now, and mix until you achieve the desired color.
Remove the saucepan from heat. If you want a sour flavor, stir in a small amount of citric acid to taste.
Pour the gelatin mixture into silicone molds of your choice, filling them evenly. Tap the molds gently on the counter to remove any air bubbles.
Place the molds in the refrigerator and let them set for at least 2-4 hours or until firm.
Once set, carefully remove the gummies from the molds.
If desired, toss the gummies in a small amount of reserved sugar to prevent them from sticking together.
Store the gummies in an airtight container at room temperature for up to two weeks.
Time & Calories
Prep Time: 15 minutes
Setting Time: 2-4 hours in the refrigerator
Total Time: 2 hours 15 minutes to 4 hours 15 minutes
Estimated Calories: Approximately 50 calories per gummy (calories may vary based on the size and additional ingredients)
NOTES
Enjoy your delicious homemade Homemade Gummies !