Introduction
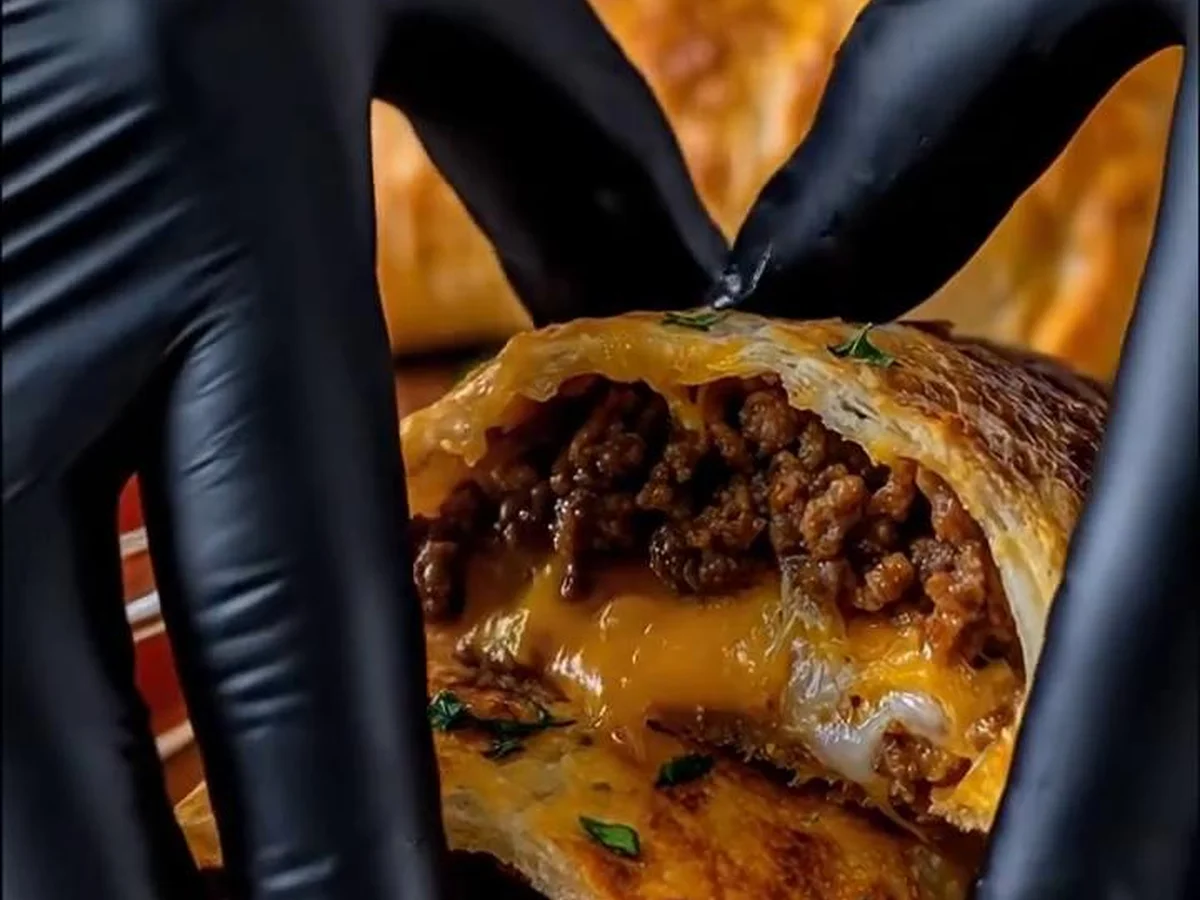
The cheeseburger pocket is the ultimate comfort food—an irresistible handheld delight that combines the beloved flavors of a classic cheeseburger wrapped in a fluffy pastry. As you bite into a freshly baked cheeseburger pocket, your senses awaken. The delightful aroma of sautéed onions mingling with seasoned ground beef wafts up, a tantalizing prelude to the explosion of flavors awaiting you. The savory beef, melty cheddar, and warm, flaky pastry create a symphony of taste and texture that is nothing short of heavenly. Whether you’re serving them up at a backyard barbecue, a casual family dinner, or even as a hearty snack, these cheeseburger pockets are sure to evoke memories of summertime picnics and carefree days. Their popularity can be attributed to their easy customization, quick preparation, and universal appeal—a nostalgic nod to childhood flavors that continues to resonate with food lovers of all ages.
The Origins and History
The origins of stuffed pastries date back centuries, weaving their way through various cultures and cuisines, and the cheeseburger pocket stands as an American testament to this legacy. While the concept of encasing food in dough has ancient roots—from Empanadas in Spain, to Cornish Pasties in the UK, and even the French Tart—today’s cheeseburger pocket can be seen as a crossroads of innovation and classic comfort food. The cheeseburger itself emerged in the 1920s as a quintessential American dish, celebrated for its juicy beef patty crowned with cheese. Merging this iconic flavor with a portable pastry form is a modern twist that not only caters to the fast-paced lifestyles of today but also celebrates that all-time favorite backyard grill experience, universalizing the cheeseburger into a new, convenient format. The cheeseburger pocket thus stands not only as a meal but as a nostalgic encapsulation of American ingenuity in transforming beloved tastes into versatile forms.
Why You Will Absolutely Love This Recipe
- Flavor Profile: The rich, juicy beef seasoned with garlic powder and Worcestershire sauce creates a robust flavor that pairs perfectly with melted cheddar cheese.
- Ease of Cooking: The recipe is simple enough for a weeknight meal, yet impressive enough to serve at gatherings.
- Crowd-Pleaser: Whether you’re preparing for kids or adults, cheeseburger pockets are a guaranteed hit, often leading to requests for seconds.
- Leftovers Galore: If you have any leftover pockets, they can be easily reheated, making them a great choice for meal prep or lunch the next day.
Deep Dive into the Ingredients
Understanding the importance of each ingredient in our cheeseburger pockets opens a new dimension to this dish. The ground beef—the star of the show—brings rich flavor and is a source of protein. For a healthier option, consider using lean ground turkey or chicken, or even plant-based alternatives like lentils or mushrooms for a vegetarian spin. Next up is the small onion, finely chopped, which adds sweetness and depth. You can switch to shallots or green onions for a milder taste if preferred. The shredded cheddar cheese is chosen for its excellent melting properties. Feel free to experiment with different cheeses like pepper jack for heat or provolone for a more subdued flavor. The garlic powder infuses a fragrant, savory quality without the pungency of fresh garlic, delivering consistent flavor without the risk of burning. While salt and black pepper are essential basic seasonings, consider adding spices like paprika or cumin for more complexity. Finally, Worcestershire sauce gives a dash of umami, making the filling irresistibly savory. Each ingredient plays a pivotal role, and they can be swapped according to dietary preferences or pantry availability, ensuring that your cheeseburger pockets can adapt without losing their comforting essence.
Pro Tips for Perfect Results
To elevate your cheeseburger pockets from good to extraordinary, consider these essential pro tips. Firstly, sear your meat properly to enhance its natural flavors. Avoid stirring too often; let the meat develop a nice crust before breaking it apart. This ensures depth in each bite. When sautéing onions, do so until they are translucent and just starting to caramelize—they should be sweet, not raw. As for the pastry, whether you choose pre-made dough or opt for homemade, make sure to roll it out evenly to avoid excessively thick or thin spots. Also, ensure a proper seal by crimping the edges with a fork to prevent any gooey goodness from escaping. Lastly, brush the tops with an egg wash before baking; it gives your pockets a beautiful golden finish and adds a professional touch. These little steps can transform a basic recipe into a culinary triumph.
Serving and Pairing Suggestions
Cheeseburger pockets can shine alongside a variety of accompaniments. For a classic pairing, serve them with crispy French fries or a fresh, tangy coleslaw to balance the richness of the filling. A side of pickles adds a delightful crunch and acidity, cutting through the meatiness. For drinks, consider serving with a chilled lager or a refreshing lemonade during warm summer months, or a robust dark ale in the cooler months. These pockets are perfect for casual gatherings, game day snacks, or as a fun twist on a family dinner, ensuring that they fit seamlessly into any occasion.
Storage, Freezing, and Reheating
To maintain the delightful texture and flavor of your cheeseburger pockets, it’s essential to store them properly. Allow your pockets to cool completely before transferring them to an airtight container, where they can be kept in the refrigerator for up to three days. If you’re looking to stash some for later, wrap each pocket individually in plastic wrap and place them in a freezer-safe bag for up to three months. For reheating, simply pop them in a preheated oven at 350°F (175°C) for about 10-15 minutes or until heated through. Avoid microwaving them, as this can lead to a soggy pastry, robbing you of that crisp, flaky bite that makes them so delightful.
Frequently Asked Questions (FAQ)
Can I make cheeseburger pockets in advance? Yes! Prepare them ahead of time, assemble, and then refrigerate or freeze until you’re ready to bake.
What other fillings can I use? You can switch up the filling according to your taste. Consider adding jalapeños for spice, sautéed mushrooms for earthiness, or mixed vegetables for extra nutrition.
Can I make these vegetarian? Absolutely! Substitute ground beef with lentils, black beans, or a mix of finely chopped vegetables and season them accordingly.
Can I cook them in an air fryer? Yes! Preheat the air fryer, then cook for about 10 minutes at 375°F (190°C) until golden brown, checking frequently to avoid overcooking.
How can I ensure a flaky pastry? Use cold butter, and don’t overwork the dough. Also, chill the dough before rolling it out to help maintain its flakiness during baking.
Conclusion
Cheeseburger pockets are an exciting and satisfying dish that promises to be a staple in your culinary repertoire. Whether you are feeding a crowd or enjoying a cozy night in, these pockets bring nostalgic comfort into a new format, inviting creativity and love into every bite.
Simple Recipe Version
Cheeseburger Pockets Ingredients: – 1 lb ground beef – 1 small onion, finely chopped – 1 cup shredded cheddar cheese – 1 teaspoon garlic powder – 1 teaspoon salt – 1/2 teaspoon black pepper – 1 tablespoon Worcestershire sauce – 1 can refrigerated crescent roll dough – Optional: lettuce, tomatoes, pickles for serving Instructions: 1. Preheat your oven to 375°F (190°C). 2. In a large skillet over medium heat, add the chopped onion and ground beef. Cook until the beef is browned and the onion is tender, about 5-7 minutes. 3. Drain any excess grease from the pan. 4. Stir in the garlic powder, salt, black pepper, and Worcestershire sauce into the beef mixture. Cook for another 2 minutes to allow the flavors to meld. 5. Remove the skillet from heat and stir in the shredded cheddar cheese until melted and combined. 6. Unroll the crescent roll dough and separate it into individual triangles. 7. Place about 2 tablespoons of the beef and cheese mixture in the center of each triangle. 8. Fold the dough over the filling to form a pocket, and pinch the edges to seal well. 9. Place the pockets on a baking sheet lined with parchment paper. 10. Bake in the preheated oven for 12-15 minutes, or until they are golden brown. 11. Remove from the oven and let cool for a few minutes before serving. 12. Serve with optional toppings such as lettuce, tomatoes, and pickles. Time & Calories – Preparation Time: 10 minutes – Cooking Time: 15 minutes – Total Time: 25 minutes – Approximate Calories per pocket: 300 calories
Cheeseburger Pockets
INGREDIENTS
- 1 lb ground beef
- 1 small onion, finely chopped
- 1 cup shredded cheddar cheese
- 1 teaspoon garlic powder
- 1 teaspoon salt
- 1/2 teaspoon black pepper
- 1 tablespoon Worcestershire sauce
INSTRUCTIONS
Preheat your oven to 375°F (190°C).
In a large skillet over medium heat, add the chopped onion and ground beef. Cook until the beef is browned and the onion is tender, about 5-7 minutes.
Drain any excess grease from the pan.
Stir in the garlic powder, salt, black pepper, and Worcestershire sauce into the beef mixture. Cook for another 2 minutes to allow the flavors to meld.
Remove the skillet from heat and stir in the shredded cheddar cheese until melted and combined.
Unroll the crescent roll dough and separate it into individual triangles.
Place about 2 tablespoons of the beef and cheese mixture in the center of each triangle.
Fold the dough over the filling to form a pocket, and pinch the edges to seal well.
Place the pockets on a baking sheet lined with parchment paper.
Bake in the preheated oven for 12-15 minutes, or until they are golden brown.
Remove from the oven and let cool for a few minutes before serving.
Serve with optional toppings such as lettuce, tomatoes, and pickles.
Time & Calories
Preparation Time: 10 minutes
Cooking Time: 15 minutes
Total Time: 25 minutes
Approximate Calories per pocket: 300 calories
NOTES
Enjoy your delicious homemade Cheeseburger Pockets !