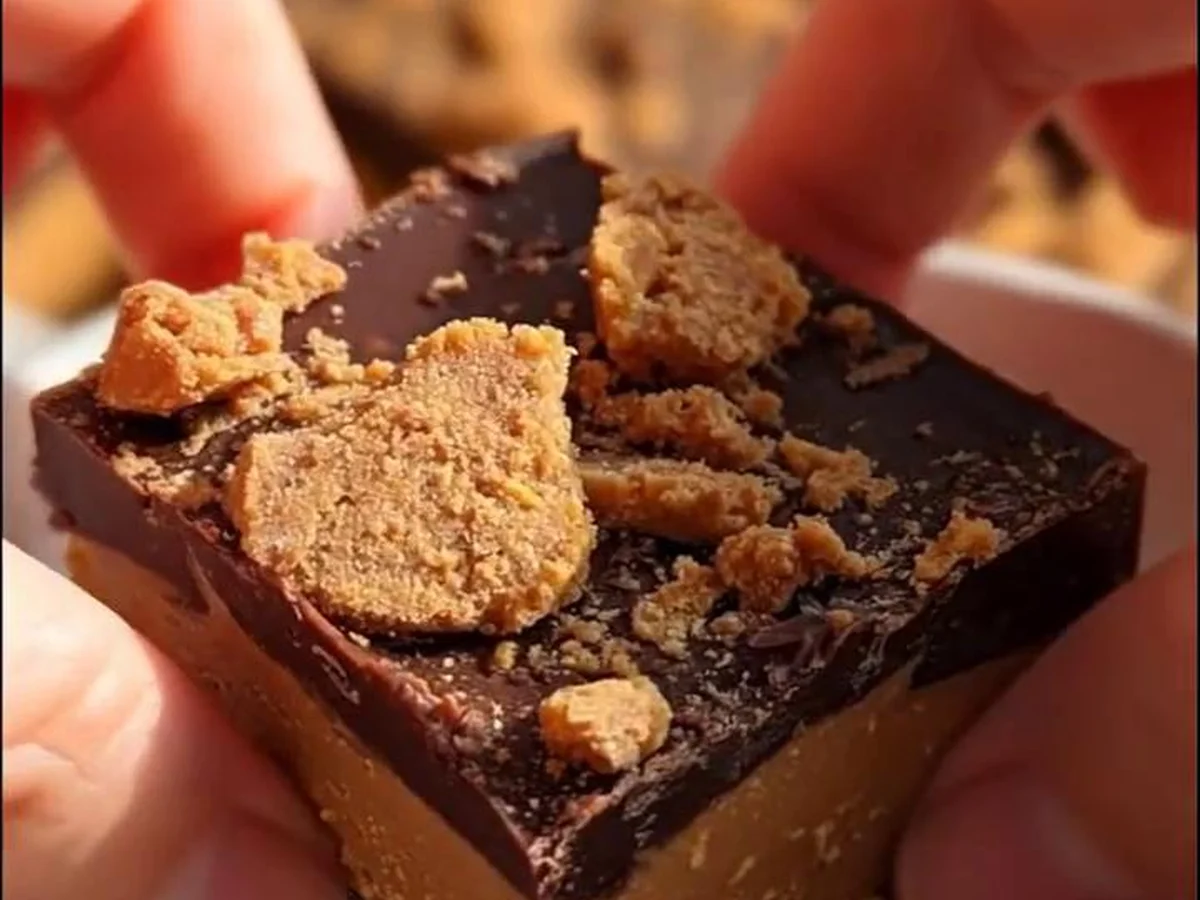
Indulgence swathed in nostalgia—there’s scarcely a treat that evokes warmth and delight quite like Butterfinger fudge. With its smooth, creamy texture punctuated by crisp, crunchy pieces of Butterfinger candy, this fudge transcends the ordinary, making it a comfort food staple. Imagine cutting through that velvety layer of chocolate, revealing the buttery, peanut buttery goodness intertwined with a sweet crunch. The scent of melting chocolate wafts through your kitchen, enticing everyone to gather, their anticipation palpable. Each bite, rich and decadently sweet, leaves a lingering satisfaction that is as comforting as a hug on a chilly day. Whether enjoyed at holiday gatherings, as an everyday snack, or even as a heartfelt gift wrapped in pretty paper, Butterfinger fudge doesn’t just fill the stomach; it fills the heart.
The Origins and History
The act of making fudge has deep roots in American culinary traditions, with origins tracing back to the 19th century. Traditional fudge recipes, often based on simple ingredients such as sugar, butter, and milk, first emerged in the United States during the Victorian era and quickly gained popularity among home bakers. The concept of incorporating candy bars into fudge is a delightful innovation that taps into America’s rich candy history—particularly the rise of iconic bars like Butterfinger, which was introduced in 1923. This peanut butter-flavored confection quickly claimed its place in the pantheon of beloved American sweets. Combining such a nostalgic candy with the classic fudge-making process results in a treat that’s both modern and timeless. Butterfinger fudge exemplifies how culinary creativity transforms simple ingredients into beloved comfort foods that resonate across generations.
Why You Will Absolutely Love This Recipe
- Flavor Explosion: The combination of creamy chocolate and peanut butter crunch creates a delightful contrast that is satisfyingly sweet yet not overwhelmingly so.
- Ease of Preparation: With just a handful of ingredients and minimal cooking required, even novice bakers can whip up a batch in no time.
- Crowd-Pleaser: This fudge is an instant hit at gatherings, sparking joy and nostalgia. You can never go wrong bringing this treat to a party.
- Perfect Leftovers: Unlike some sweets, Butterfinger fudge holds up remarkably well, making it ideal for stocking up and enjoying later.
- Customizable: You can easily experiment with different candy mix-ins or toppings to make it your own.
Deep Dive into the Ingredients
To create the perfect Butterfinger fudge, it all begins with high-quality ingredients—each plays a crucial role in achieving that dreamy texture and formidable flavor.
- Semi-Sweet Chocolate Chips: The choice of chocolate chips is pivotal; semi-sweet provides the right balance of sweetness and deep chocolate flavor without overwhelming the palate. Opting for high-quality chocolate can make all the difference, enhancing the overall richness of the fudge.
- Sweetened Condensed Milk: This ingredient lends a beautiful creaminess to the fudge while also functioning as a natural sweetener. It eliminates the need for added sugars, allowing the other flavors to shine through. If you’re looking for alternatives, you could use coconut condensed milk for a unique twist.
- Heavy Cream: Adding heavy cream not only increases the richness of the fudge but also helps achieve a luxuriously smooth consistency. If you’re aiming for a dairy-free option, consider using coconut cream as a substitute, which will add a hint of tropical flavor.
- Butterfinger Candy Bars: The crux of the recipe! The crunchy exterior and creamy peanut buttery innards create a tantalizing contrast in every bite. However, if you can’t find Butterfinger bars, you can replace them with any similar candy bar (like Reese’s or Crunch Bars) to maintain that crunch while altering the flavor profile.
- Vanilla Extract: Although optional, a dash of vanilla adds an extra layer of flavor that rounds out the sweetness of the fudge. If you’re feeling adventurous, try using almond extract as a delightful alternative.
- Pinch of Salt: This optional ingredient may seem minor, but it plays a vital role in balancing the sweetness of the fudge and amplifying the chocolate’s flavor.
Pro Tips for Perfect Results
Even though Butterfinger fudge is a simple treat to make, there are several tips to ensure that you achieve a decadent, melt-in-your-mouth outcome.
- Timing is Key: When melting chocolate, do this over low heat or using a double boiler method to avoid burning the chocolate, which can lead to a gritty texture.
- Gentle Mixing: When folding in your crushed Butterfinger bars, do so gently to maintain their crunchy texture; this contrast is crucial to the fudge experience.
- Cooling Properly: Allow the fudge to cool at room temperature before transferring it to the refrigerator. Cooling too quickly can lead to a grainy texture—patience is key!
- Use Parchment Paper: Lining your pan with parchment paper not only helps prevent sticking but also makes it easier to lift the fudge out once set. This technique is especially handy for cutting even, uniform pieces.
Serving and Pairing Suggestions
Butterfinger fudge is inherently rich, so it’s perfect when served in bite-sized pieces. Pair it with a fresh cup of coffee or a frosty glass of milk to balance the sweetness. It’s ideal for a movie night, holiday dessert table, or potluck. For a more sophisticated touch, serve it alongside a scoop of vanilla ice cream, where the creaminess of the ice cream elevates the rich fudge to a new level.
Storage, Freezing, and Reheating
Storing your Butterfinger fudge is straightforward. Keep it in an airtight container at room temperature, where it should last for about a week. If you wish to linger on the sweetness for longer, you can freeze it! Wrap individual pieces in wax paper and store them in a freezer-safe bag; it can last for up to three months. To enjoy, simply thaw in the fridge overnight without microwave reheating, which may alter its texture.
Frequently Asked Questions (FAQ)
- Can I use milk chocolate instead of semi-sweet? Absolutely! However, this will yield a much sweeter fudge, so be prepared for the taste to be different.
- What can I use instead of Butterfinger bars? You can substitute them with other crunchy candy bars like Snickers, Reese’s, or even peanut brittle for a new twist on flavor.
- What if my fudge doesn’t set properly? If your fudge is too soft, it may need more time in the refrigerator or depending on the conditions under which it was made. You may also try adding additional chocolate chips to thicken it.
- Can I make this fudge vegan? Yes! Using dairy-free chocolate chips, coconut cream, and a vegan Butterfinger alternative will make this fudge accessible to anyone on a plant-based diet.
- How do I cut the fudge without it crumbling? Ensure the fudge has set correctly and is completely cooled before cutting. A hot knife dipped in warm water can also make clean cuts.
Conclusion
Creating Butterfinger fudge is an opportunity to indulge in effortless sweetness and nostalgia. It’s a dessert that stands out for all the right reasons—a perfect blend of simplicity, flavor, and comfort all rolled into one delicious bite. Get ready to fall in love!
The History of This Recipe
In the early 1920s, a candy company sought to create a unique chocolate bar that combined the crunchiness of peanut butter with a smooth fudge center. This innovative idea was inspired by the success of existing candies, leading to the birth of Butterfinger Fudge.
As the recipe was perfected, the team realized the balance of flavors needed to be just right to appeal to both peanut butter enthusiasts and chocolate lovers. By melding rich chocolate with a creamy, fudge-like texture and the signature crispy peanut butter layers, they created a delectable treat.
Upon its release, Butterfinger Fudge quickly captured the hearts of consumers with its irresistible combination of textures and flavors. Over the years, the candy has become a staple, beloved for its nostalgic qualities and the joy it brings to those who enjoy it.
Butterfinger Fudge
INGREDIENTS
- 3 cups semi-sweet chocolate chips
- 14 ounces sweetened condensed milk
- 1/4 cup heavy cream
- 1 cup Butterfinger candy bars, crushed (approximately 4-5 bars)
- 1/2 teaspoon vanilla extract
- Pinch of salt (optional)
INSTRUCTIONS
Prepare an 8×8 inch baking pan by lining it with parchment paper or greasing it lightly with non-stick spray. Set aside.
In a medium saucepan over low heat, combine the semi-sweet chocolate chips, sweetened condensed milk, and heavy cream. Stir continuously until the mixture is melted and smooth, about 5-7 minutes.
Once the chocolate mixture is melted, remove the saucepan from the heat and stir in the vanilla extract and a pinch of salt if desired. Mix until well combined.
Fold in the crushed Butterfinger candy bars, ensuring they are evenly distributed throughout the fudge mixture.
Pour the fudge mixture into the prepared baking pan, spreading it out evenly with a spatula.
Allow the fudge to set at room temperature for about 2-3 hours, or you can refrigerate it for faster setting, which takes about 1-2 hours.
Once set, remove the fudge from the pan using the parchment paper overhang. Cut into small squares or bars.
Serve and enjoy your delicious Butterfinger fudge!
Time & Calories:
Prep Time: 15 minutes
Cook Time: 10 minutes
Setting Time: 2-3 hours (or 1-2 hours in the refrigerator)
Total Time: 2 hours 25 minutes (or 1 hour 25 minutes with refrigeration)
Calories: Approximately 150 calories per piece (based on 24 pieces)
NOTES
Enjoy your delicious homemade Butterfinger Fudge !