Introduction
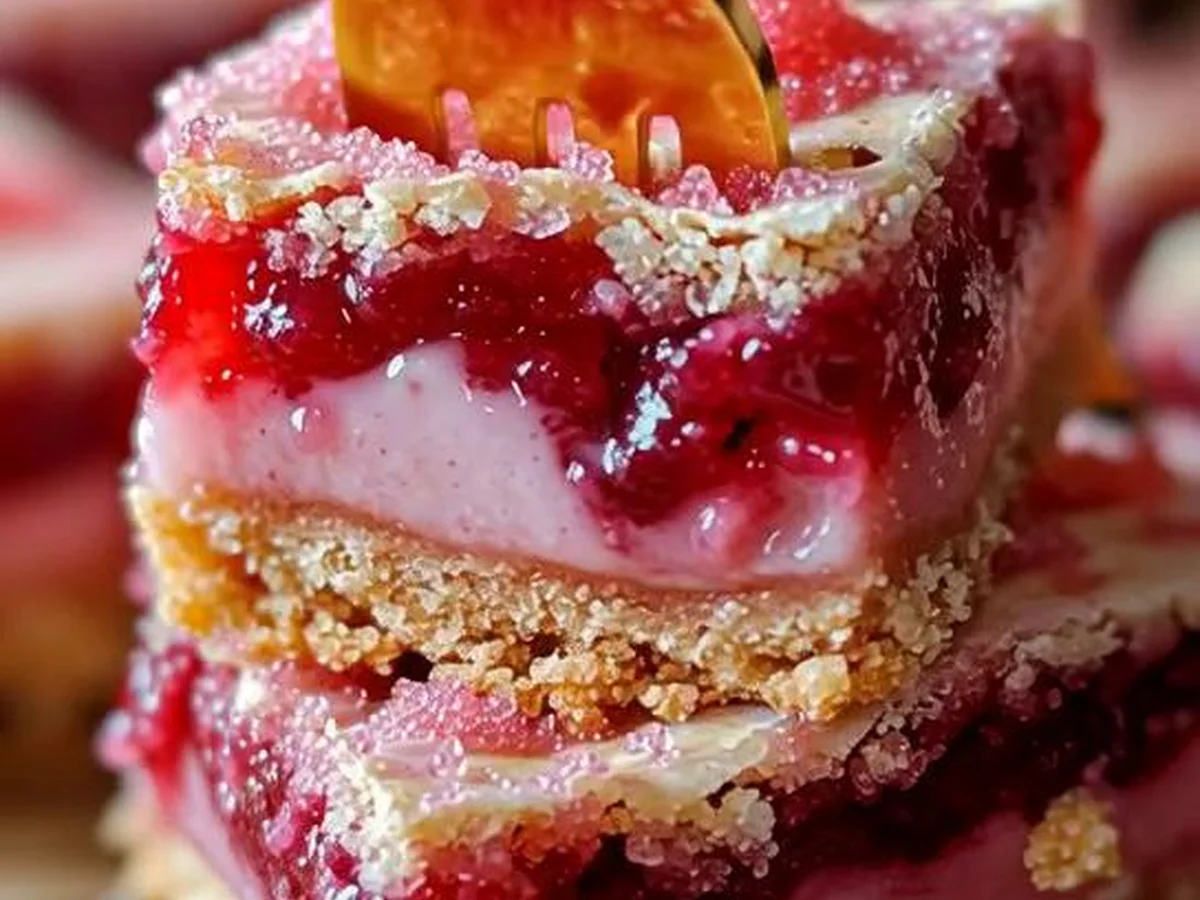
There’s something intrinsically comforting about biting into a homemade cherry crumble bar. The pastry is golden and buttery, providing a perfect contrast to the bright, tart cherries within. As you delve into these sweet treats, the delightful aroma fills the kitchen, washing over you with a warmth that harkens back to childhood summers—as they evoke memories of warm sun, laughter, and the tantalizing anticipation of dessert. It’s no wonder that cherry crumble bars, with their delicious harmony of textures and flavors, have become a beloved staple in countless households.
With each taste, the sweet-tart burst of ripe cherries melds beautifully with the crumbly topping, creating a treat that feels homey yet sophisticated. Whether you’re indulging alone with a cup of coffee or sharing with friends during an afternoon get-together, these bars are a universally appealing delight. Their simplicity, coupled with their rich flavor profile, makes them the quintessential comfort food—ideal for any occasion, from a family picnic to holiday gatherings. So, let’s explore the details behind creating your very own cherry crumble bars and uncover the secrets that make them irresistibly delicious!
The Origins and History
Crumble desserts, often referred to as “cobblers” or “crisps” in different cultures, boast a rich and varied history that stretches back centuries. Simplistically delightful, they arose from the need for rustic, hearty desserts that were easy to prepare and utilized local fruits. The first crumble recipes can be traced to England, dating back to World War II when rationing made traditional pie crusts harder to come by. Instead, simple, streusel-like toppings emerged, enabling home bakers to whip up delicious sweets with what they had on hand.
As cherry trees blossomed around various regions, the tart and sweet cherry flavors quickly became a staple ingredient in these rustic desserts. Today’s cherry crumble bars combine the traditional elements of delicious fruit filling and crumbly topping with innovation, making them approachable for modern bakers. This dish exemplifies the beauty of fusion in culinary history, blending simplicity with nostalgia that continues to captivate pastry enthusiasts today.
Why You Will Absolutely Love This Recipe
- Flavor Profile: The balance of tart cherries and sweet, buttery crumble beats with the warm notes of cinnamon to create a flavor experience that is both complex and comforting.
- Ease of Preparation: This recipe requires minimal effort and delivers maximum satisfaction, making it accessible even for novice bakers.
- Crowd-Pleaser: These bars are a guaranteed hit at any gathering, whether it’s a casual coffee date or a formal family affair.
- Perfect for Leftovers: Cherry crumble bars keep well for days, meaning you can indulge over and over without losing any flavors or textures.
Deep Dive into the Ingredients
The beauty of cherry crumble bars lies not only in their flavor but also in the selection of ingredients that reflect a careful balance of texture and taste. Each component plays a vital role in the overall composition. Let’s unpack them in detail:
- All-Purpose Flour (1½ cups): This forms the base of the crumble. The good news is that all-purpose flour is versatile and leads to a tender crumb when paired with fat. If desired, consider substituting part of it with whole-wheat flour for an added nutty flavor and nutritional boost.
- Granulated Sugar (½ cup): This sweetener balances the tartness of the cherries and contributes to the desirable crunch of the crumble. If you like a less sweet result, you can reduce the sugar slightly, or swap it for brown sugar for a deeper caramel-like flavor.
- Salt (½ tsp): A pinch of salt enhances sweetness while regulating the overall flavor, creating depth and helping to balance the fruity notes.
- Unsalted Butter (½ cup, softened): The star ingredient in creating a rich and delectable crumble, butter imparts flavor and moisture. Make sure to use unsalted to control the salt content in your dish. For a vegan option, consider using coconut oil or vegan butter.
- Cherries (1 cup, fresh or frozen): Ripe cherries bring a burst of juicy goodness. Whether using fresh or frozen, pitted and halved cherries work beautifully. If cherries are out of season, feel free to substitute with blueberries or raspberries for a delightful twist.
- Vanilla Extract (1 tsp): This adds warmth and complexity to your bars. Freshly squeezed vanilla bean pods would elevate the experience even further—there’s nothing quite like that rich aroma!
- Baking Powder (1 tsp): It acts as a leavening agent within the crumble, ensuring a light texture that contrasts beautifully with the denser fruity layer.
- Ground Cinnamon (½ tsp): This spice introduces an inviting warmth. You can experiment with adding nutmeg or cardamom for an aromatic variation.
- Rolled Oats (1¼ cups): The oats provide a chewy texture and heartiness to the crumble topping. They are a wholesome addition that complements the other ingredients. For a gluten-free version, opt for certified gluten-free oats.
Pro Tips for Perfect Results
To ensure your cherry crumble bars turn out perfectly every time, consider the following expert tips:
- Use Cold Butter: While the recipe does call for softened butter, chilling it slightly before incorporating will yield a flakier texture that enhances the crumble topping.
- Don’t Overmix: When combining the crumble topping, mix until just combined. This will retain the god-given texture of the oats and flour, leading to a better bar.
- Allow to Cool: Patience is key! Let the finished bars cool thoroughly before slicing. This allows the filling to set and makes cutting easier, preventing the mixture from falling apart.
- Experiment with Fruit Fillings: While cherries are the star here, feel free to explore with various seasonal fruits. Peaches, apples, and even mixed berries lend unique flavor profiles.
Serving and Pairing Suggestions
Cherry crumble bars can be served warm with a scoop of vanilla ice cream on top or paired with whipped cream for an indulgent dessert. They can also be enjoyed as a snack with a cup of coffee or tea. For lunch gatherings, pair them with a refreshing fruit salad or a light cheese platter. When it comes to beverage pairings, consider a light-bodied dessert wine like Moscato or a fruity iced tea to complement the flavors.
Storage, Freezing, and Reheating
Cherry crumble bars store beautifully, making them an ideal make-ahead treat. Keep them in an airtight container in the refrigerator for up to one week. For freezing, wrap the bars individually or place parchment paper between layers in a freezer-safe container. They can be stored for up to three months. When ready to serve, simply thaw at room temperature or warm them in the oven at a low temperature to revive their delightful crumble. There’s nothing like the aroma of fresh cherry crumble wafting through the kitchen again!
Frequently Asked Questions (FAQ)
- Can I use other fruits? Yes! You can substitute cherries with a variety of fruits; just keep in mind that different fruits may have varying sweetness levels and moisture content.
- Can I make these bars gluten-free? Absolutely! Simply substitute all-purpose flour with a gluten-free flour blend and use certified gluten-free oats.
- How do I know when they’re done? The edges of the bars should be golden brown and the filling should be bubbly, giving a visual cue that they are ready.
- Can I make these ahead of time? Yes! These bars can be made in advance and stored properly for several days, perfect for parties or unexpected visitors.
Conclusion
Creating cherry crumble bars is a delicious adventure that celebrates simplicity and bold flavors. I invite you to try this comforting recipe, and I assure you that it will become a lasting addition to your baking repertoire.
Simple Recipe Version
Cherry Crumble Bars Ingredients: – 1½ cups all-purpose flour – ½ cup granulated sugar – ½ tsp salt – ½ cup unsalted butter, softened – 1 cup fresh or frozen cherries, pitted and halved – 1 tsp vanilla extract – 1 tsp baking powder – ½ tsp ground cinnamon – 1¼ cups rolled oats – ½ cup brown sugar Instructions: 1. Preheat your oven to 350°F (175°C). Grease a 9×9 inch baking pan or line it with parchment paper. 2. In a large mixing bowl, combine the all-purpose flour, granulated sugar, salt, baking powder, and ground cinnamon. Mix well. 3. Add the softened butter to the dry ingredients and use a pastry cutter or fork to blend until the mixture resembles coarse crumbs. 4. Stir in the rolled oats and mix until evenly combined. 5. Press half of the mixture into the bottom of the prepared baking pan to create the crust layer. 6. In another bowl, combine the cherries with vanilla extract and toss gently to coat. Spread the cherry mixture evenly over the crust layer. 7. Crumble the remaining oat mixture over the cherries, making sure to cover them as evenly as possible. 8. Bake in the preheated oven for about 30-35 minutes, or until the top is golden brown and the cherry filling is bubbling slightly. 9. Remove from the oven and allow the bars to cool in the pan for at least 20-30 minutes. Once cooled, cut into squares and serve. Time & Calories: – Total Time: 1 hour – Approximate Calories per bar: 180 (based on a yield of 12 bars)
Cherry Crumble Bars
INGREDIENTS
- 1½ cups all-purpose flour
- ½ cup granulated sugar
- ½ tsp salt
- ½ cup unsalted butter, softened
- 1 cup fresh or frozen cherries, pitted and halved
- 1 tsp vanilla extract
- 1 tsp baking powder
- ½ tsp ground cinnamon
- 1¼ cups rolled oats
INSTRUCTIONS
Preheat your oven to 350°F (175°C). Grease a 9×9 inch baking pan or line it with parchment paper.
In a large mixing bowl, combine the all-purpose flour, granulated sugar, salt, baking powder, and ground cinnamon. Mix well.
Add the softened butter to the dry ingredients and use a pastry cutter or fork to blend until the mixture resembles coarse crumbs.
Stir in the rolled oats and mix until evenly combined.
Press half of the mixture into the bottom of the prepared baking pan to create the crust layer.
In another bowl, combine the cherries with vanilla extract and toss gently to coat. Spread the cherry mixture evenly over the crust layer.
Crumble the remaining oat mixture over the cherries, making sure to cover them as evenly as possible.
Bake in the preheated oven for about 30-35 minutes, or until the top is golden brown and the cherry filling is bubbling slightly.
Remove from the oven and allow the bars to cool in the pan for at least 20-30 minutes. Once cooled, cut into squares and serve.
Time & Calories:
Total Time: 1 hour
Approximate Calories per bar: 180 (based on a yield of 12 bars)
NOTES
Enjoy your delicious homemade Cherry Crumble Bars !